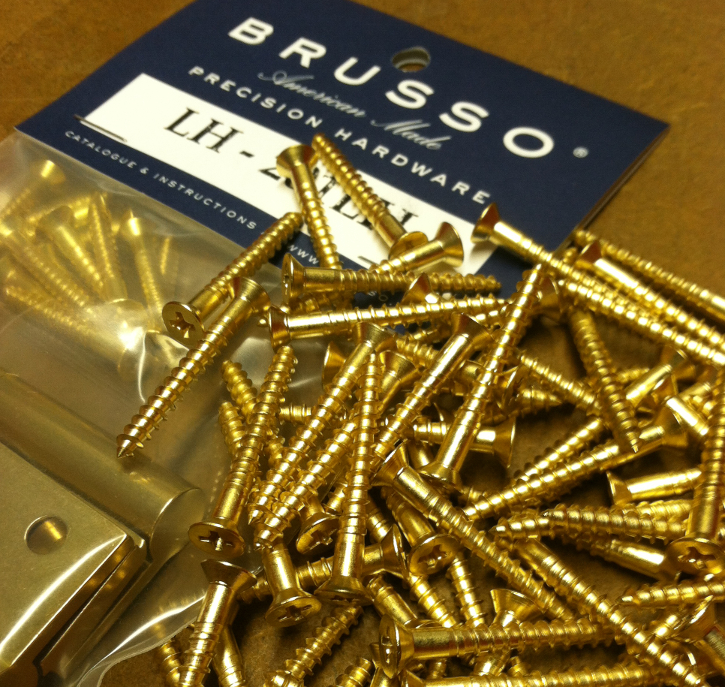
We at Brusso pride ourselves on the high quality brass finishes we offer on our products. In order to provide a uniform finish to our customers our brass hardware ships with all brass screws. We don't use plated or coated screws because we want to provide a uniform finish as the brass ages over time. We have used the same source for our brass screws for many years and we do not shop around to save costs.
While we see many benefits to using all solid brass screws, this creates an inherent risk: breakage. Given the soft properties of brass and the small screw sizes we ship with our products, breakage is always a possibility. However, we would like to share with you some effective methods that can help mitigate the chance of screw breakage. Even using the best practices we offer below, it is possible that a screw will break from time to time. This page details the best steps to take after a screw breaks as well as excellent installation techniques to prevent breakage.
Broken Screw Removal
A broken screw is a dreadful thing. It often comes near the end of a project and means that extra rework will be required. However, this is not the end of your project and a broken screw should be salvageable. It happens to woodworkers of all experience levels and is frustrating all around. Below we offer a useful method that should be able to work through this issue and get your project going again.
The first thing to say about screw removal is how to prevent it. For that take a look at our instructions below. They should help lower the risk of breakage but we can't guarantee that they will prevent this issue. In addition, we advise all our customers to try out an installation in scrap wood before attempting it in your final product.
Here is a step-by-step guide to screw removal:
- 1. Relieve the area in and around the screw. You can use a chisel, Dremel, or drill bit to make space around the broken screw. For cosmetic reasons, try to keep this area small enough to be hidden by your hinge.
- 2. Use a very sharp pair of diagonal cutting pliers to grab on to the remnants of the screw body. Slowly rotate the screw counter-clockwise until it is free.
- 3. Evaluate the status of the hole that remains. Sometimes just some wood glue and a new screw will suffice. We advise you look into using wood filler or putty in the screw hole, which you can then install the new screw into. Make sure the new mortise surface will allow your hinge to sit flat after being reinstalled.
This may look messy but with a careful touch you can ensure all of the rework is covered up by your hinge.
Here is a guide from Wood U Make It on how to remove a broken screw:
Screw Installation
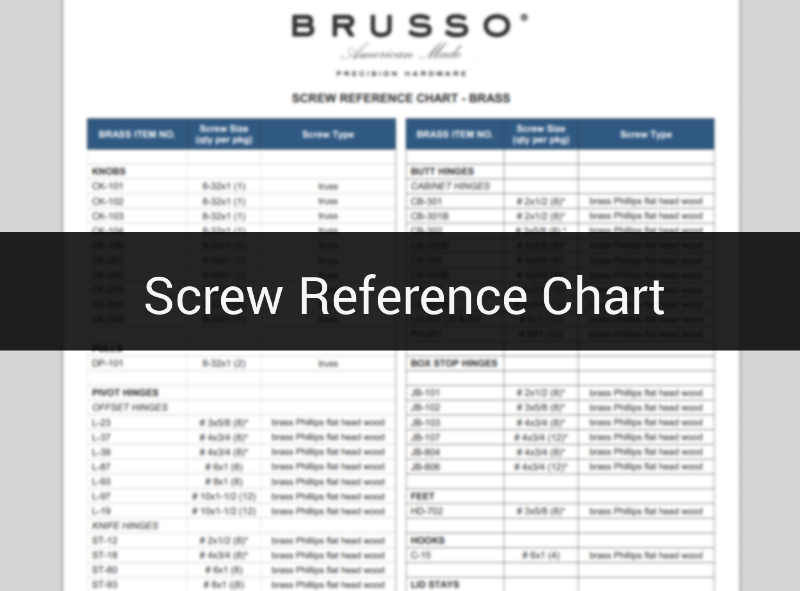
The best way to prevent screw breakage is to take the appropriate steps during installation. When installing one of our products, be sure to read the install instructions that are linked to from most of our product pages. Drill a pilot hole before installing any brass screw. As of 2014, Brusso has been adding a steel pilot screw to all our new inventory with small sized screws. Take a look at our Screw Size Chart to see which parts ship with a pilot screw.
If you do not have a pilot screw for your part you can always drill a pilot hole with a traditional drill bit. Generally, you want to drill a pilot hole slightly smaller than your screw body. A Google search for "wood screw pilot hole size chart" should give you a reference for what sized hole you want to drill for your screw. Note, pilot hole sizing will vary for hard and soft woods. Also, ensure that your pilot hole drilled is the same length as your screw. Having too shallow a pilot hole can be as bad as having no pilot hole at all and having a too deep pilot hole is preferable to having a too shallow pilot hole.
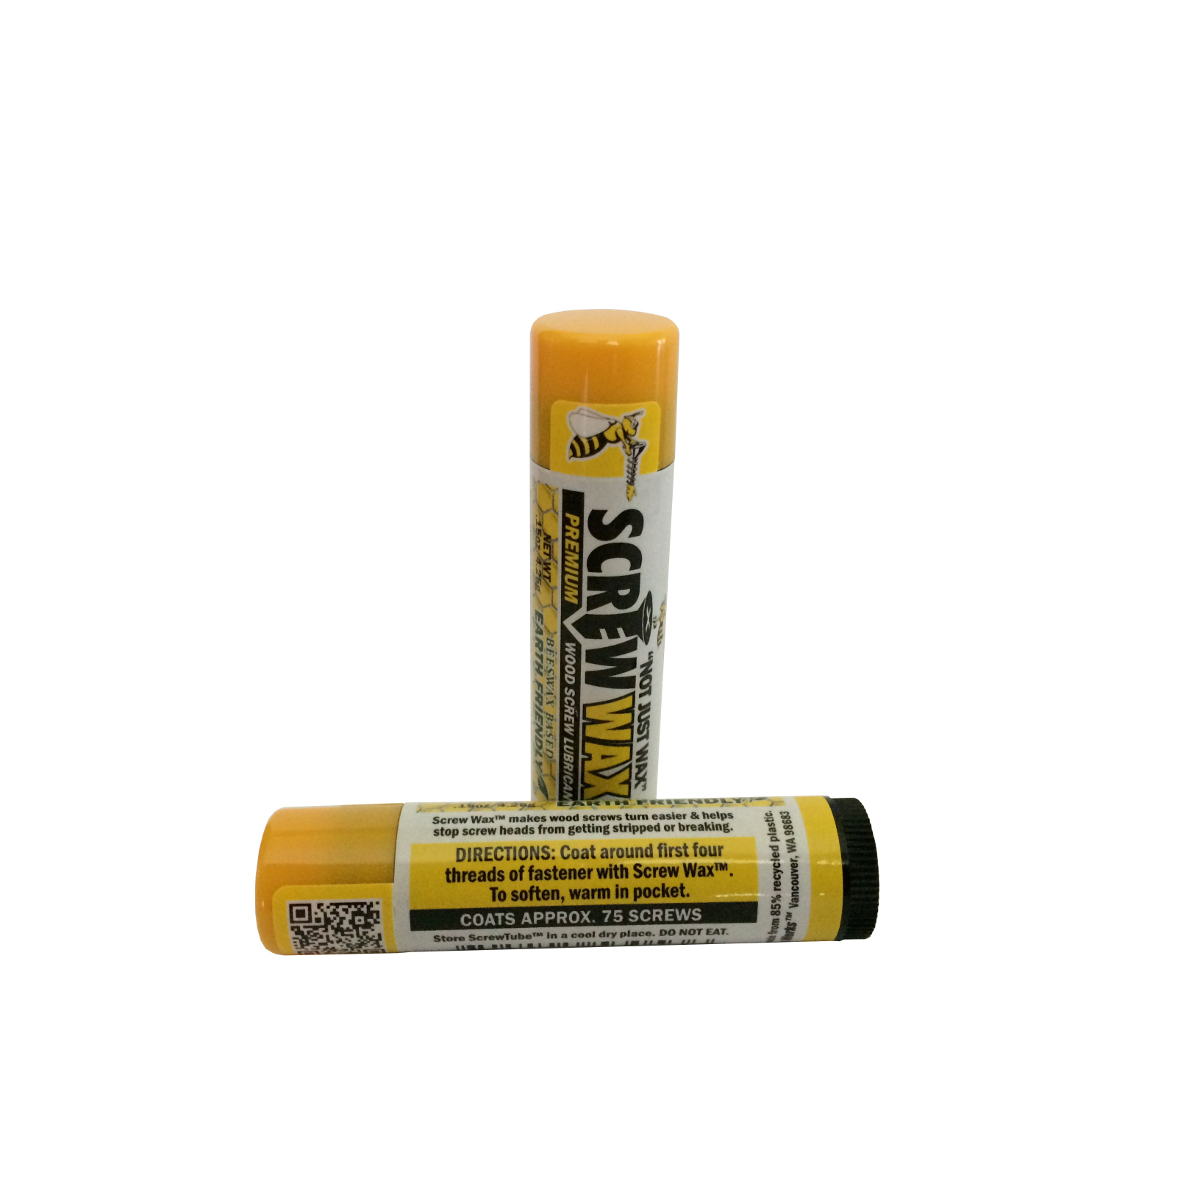
Before installing your screws into the pilot hole we advise applying a wax to the outside of the screws to put a nice coating to ease the force on the screw. Be sure to use a manual screw driver with an appropriately sized head (not too big or too small) and a light touch. There is no need to use an electric drill when installing a screw like this.
For years customers have asked what type of screw wax we recommend. For that reason we currently carry Screw Wax brand wax. It is made in the USA and uses bee's wax. Our customers have told us this product provides real advantages over bar soap or lip balm and is quickly becoming a shop staple for many people.
If you find that your pilot hole is slightly oversized simply apply some glue to the base of your pilot hole and install the screw before the glue drys. No matter what method you use, so long as the screw does not move your hinge will stay in place.
FAQs
Q: Where can I find a replacement for a screw that was included with a Brusso Hardware part?
A: Take a look at our screw reference chart to see what size screw your part shipped with. You should be able to purchase a replacement wood screw from your local hardware/woodworking store. If not, let us know and we can arrange for you to get a replacement from Brusso. If you end up purchasing a screw on your own, we advise you get a solid brass screw as it will ensure your screw and your hinge age evenly.
Q: The screw that shipped with my part is too long for my project. Where can I find a shorter screw?
A: We advise you use the screws that ship with your part in an unmodified status. If you would like to do something different take a look at our screw reference chart. There you can find all the various screw sizes that ship with our parts. When describing a wood screw, the first number controls the wood screw size (#2, #4, #6). The second number is it's length. As long as you match the first number your screw will sit properly inside our hardware's countersink. If you're not happy with the #4-3/4 screw that ships with the CB-407 you can purchase a #4-1/2 from your local hardware store. Another popular technique our customers employ is to simply grind down the overall length of the screw. If you're going to use a shorter screw length than what we supply - consider applying glue or another adhesive to your pilot hole to make sure your shortened screw stays in place.
Q: I used a piece of advise from this webpage and my screw still broke!
A: Let us know. Customer feedback and continuous improvement is important to us at Brusso Hardware. The topics covered on this page are for educational purposes only and we can't offer a guarantee that these instructions will work in 100% of use cases. That said, if you have a better idea for installing or using our products, let us know on our contact page.


